


Remote Access
Access your remote desktop from any device, anywhere.

 File Transfer
 Multi-Monitor Support
 Unattended Access
 Privacy Mode

With the continuous improvement in technology, connecting remote devices for multiple purposes from anywhere in the world is easier. For this, the Windows 11 remote desktop feature is very helpful for users to remotely connect with their office computers or other required devices to manage their work. This can help to carry out several other tasks and customize the devices remotely.
However, using Windows 11 RDP can sometimes cause complications. Many users have faced connection issues and are unable to enable the RDP on their Windows. To resolve your queries, we have compiled this guide with four effective solutions to enable this feature and moreover. Plus, get familiar with the best alternative as you continue reading this guide.
There are multiple solutions to enable remote desktop Windows 11 efficiently. This is often useful when you need to control the devices remotely. That is why below, we have mentioned some of the best solutions to help you out in ensuring that your Windows remote desktop option is activated quickly.
The first solution most frequently used to enable remote desktop Windows 11 is with the help of system settings. To help you with this, below we have outlined the detailed steps:
Step 1: Initiate the process by pressing the "Windows + S" key on your keyboard to access the search bar. Once it appears on the screen, type “Settings” and access the “Settings” app on your Windows.

Step 2: Afterward, hit the “System” option from the left side panel in the “Settings” menu. A list of different options will be available on the right-hand side. Here, you will need to scroll down to click on the “Remote Desktop” option.

Step 3: Toggle the "Remote Desktop" switch on the next screen to enable the remote desktop connections. Further, hit the “Confirm” button as the popup prompt appears, as this enables the RDP on your system. Besides this, you can also hit the “Arrow” sign next to the toggle switch to access and manage further settings as necessary.

Moving ahead, you can also enable the remote desktop feature with the help of system properties. For that, follow the steps and learn to enable RDP Windows 11:
Step 1: Access the “Control Panel” on your Windows by searching for it in the search bar. After this, click the "System and Security" option to head towards the further options.

Step 2: Below the "System" option, click on "Allow Remote Access” to access "System Properties." In addition, choose the “Remote” tab, where you can make the required adjustments to enable a remote connection.

Step 3: Moving on, checkmark the “Allow Remote Assistance Connections to this Computer” under the “Remote Assistance” section. Further, you will need to enable “Allow Connections Only from Computers Running Remote” under the "Remote Desktop" section for further process. A dialogue prompt will pop up here; tap the "OK" button. Following this, hit the "Apply" button to successfully enable the remote desktop feature.

Command Prompt is also used to enable remote desktop protocol on a computer with the help of proper command. To learn this method, use the following steps and enable Windows 11 RDP:
Step 1: Type "Command Prompt" in the Windows search bar, and once it appears, right-click on it. Doing this will show you different options from which you need to select “Run as Administrator” to move ahead.

Step 2: Following this, enter the command that is given below and press "Enter" to enable the remote access feature on your computer: reg add "HKEY_LOCAL_MACHINE\SYSTEM\CurrentControlSet\Control\Terminal Server" /v fDenyTSConnections /t REG_DWORD /d 0 /f

Another method that is very helpful in enabling remote desktop on Windows 11 for establishing remote connection is with the help of PowerShell. Below are the steps that can assist you in using this method:
Step 1: Search “PowerShell” on the search bar of your computer and right-click on the top results. After doing the click, tap on the “Run as Administrator” option.

Step 2: Once the main window of "PowerShell" appears, type the following command and hit the “Enter” key to enable the remote desktop protocol.
Set-ItemProperty -Path 'HKLM:\System\CurrentControlSet\Control\Terminal Server' -name "fDenyTSConnections" -value 0
Note: Whenever you try to enable the remote desktop feature on your computer using the steps above, remember that this feature is not available on Windows 11 Home Edition. That is why users can only enable this feature on Windows 11 Pro and Enterprise without issues. However, if you want to remote access Windows 11 Home, you can still do it with the help of a high-performance remote desktop software — Avica Remote Desktop.
Most of the time, using Windows 11 remote desktop is complicated for users who want to establish quick remote connections between multiple devices. That is why, in such a scenario, Avica can help you as an alternative to the remote desktop option. Avica has a user-friendly interface, which makes it easier to establish remote connections between multiple devices in a short time.
Also, it has end-to-end AES-256 encryption that helps users build secure connections between their remote devices for data transfer. It also provides a low latency rate to ensure that users can experience high performance even with weak network conditions. Many gamers are also using this tool to enjoy remote games. They can connect up to 4 controllers with it, adjust their display settings such as screen resolution, and even chat within the app using the chat feature.
Feel free to download Avica software by clicking the button below. If you're seeking additional information about Avica product downloads, you can visit the Avica download page. Rest assured, Avica guarantees the safety and virus-free nature of all products obtained from the official website or app store.
Now that you have understood what Avica is and how it is beneficial for establishing remote connections let’s discuss its steps in detail:
Install the latest version of Avica on your computer and double-click on its icon to launch it successfully. Log in to your account that is registered with Avica. Type in your “Email” and “Password” and tap on the “Sign In” button. In addition, you can also enable the “Remember Me” option to save your credentials for future login.

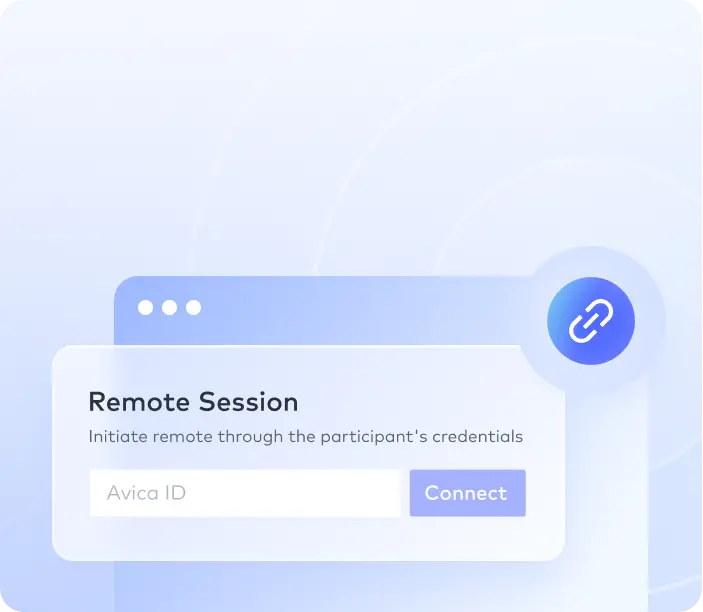
After you have logged in successfully, copy the “Avica ID” and “Password” of your client device. Below the "Initiate a Remote Session" option, enter the client's "Avica ID" and tap on the "Connect" option against it. If asked, enter the "Password" as well, and your remote desktop connection will be established.

Now that the remote session is established, you can make the necessary “Display” settings as per your requirement as well. In addition, you can also access the “Chat” feature by tapping on the “Three Dots” icon to communicate with other members through messages. Moreover, the user can also create up to 5 virtual screens as per his requirement to enhance the workflow.

To conclude, we can say that the Windows 11 remote desktop feature is very helpful for corporates and individuals to complete their multiple tasks. However, as mentioned, Windows 11 Home doesn't support the remote desktop feature, so in this case, using third-party software like Avica is a good option. This is because it has a number of different useful features that can help in building secured remote connections.
You can also use this remote access software to play games remotely on different computers with your friends. With this, you can enjoy high-end quality and a smoother user experience with different display options, including HD and Ultra-HD.

Connect Everything, Work Anywhere


