


Remote Access
Access your remote desktop from any device, anywhere.

 File Transfer
 Multi-Monitor Support
 Unattended Access
 Privacy Mode

Giving or receiving assistance in the digital workplace while not being physically present is invaluable. With Windows Remote Assistance, users can share their screens, give others control, and troubleshoot problems in real time. This software is integrated into the Windows ecosystem. Microsoft Remote Assistance in Windows 10 ensures a seamless, secure, and practical experience whether you're an IT professional providing support or a user needing help. This manual will walk you through the nuances of setting up and making the most of this potent tool.
A user can remotely control a friend's or coworker's computer for a brief period using the built-in Windows Remote Assistance feature of the Windows operating system. IT specialists and other tech-savvy people who frequently find themselves giving other people technical support will find this feature especially helpful.
Microsoft Remote Desktop Assistance is primarily about teamwork. It involves more than just taking charge; it involves directing, instructing, and supporting. The person who needs assistance sends an invitation to a reliable person, and once the two have connected, the assistance provider can see the user's screen in real time. With the user's consent, the helper may also directly control the system to troubleshoot and fix problems, if necessary.
Remote Assistance focuses more on two users cooperating than remote desktops, which is more about accessing your system from a different location. Both participants can draw on the screen, send messages, and engage in other real time, interactive activities.
The seamless integration of Windows 10 Remote Assistance into the OS is its greatest feature. There is no requirement for complicated setups or third-party software. Users can send or reply to help requests with just a few clicks, making it a popular choice for those looking for prompt and effective tech support.
Users can provide or receive technical support remotely thanks to Windows Remote Assistance, a helpful tool integrated into the Windows ecosystem. Ensure your system is configured correctly to support this feature before beginning the steps to enable it.
Follow these steps to turn on Remote Assistance in Windows 10's system properties.
Right-clicking "This PC" in File Explorer or on your desktop is the first step. "Properties" can be chosen from the context menu.

Find and select the "Remote settings" tab in the left pane of the properties window.

In the system properties window, select the "Remote" tab. The "Allow Remote Assistance to this Computer" option can be found here. For Remote Assistance to be available, make sure this box is checked.

Another way to enable Win10 Remote Assistance is through the Registry Editor, available to those who feel comfortable digging deeper into Windows settings.
Your keyboard's "Win + R" key will launch the Run dialog. The Registry Editor will start when you enter "regedit" and click "OK."

Navigate to the following route.
The HKEY_LOCAL_MACHINESYSTEMCurrentControlSetControl controls Remote Assistance.
Find the entries fAllowFullControl and fAllowToGetHelp in this registry path.

Double-click fAllowFullControl to set its value data to "1".

And click "OK" to confirm for fAllowToGetHelp.

A simple way to turn on Windows Remote Assistance is by using the Command Prompt. In this method, specific registry keys are changed using command-line interfaces. Follow these steps:
The Administrative Command Prompt should be opened. In the Windows search bar, look for "Command Prompt" and then right-click it and choose "Run as administrator."
Input the following commands to activate Remote Assistance:
"HKLMSystemCurrentControlSetControlRemote Assistance" is added with the regexp "add" /v f./t REG_DWORD /d 1 /f AllowToGetHelp.
Followed by:
"HKLMSystemCurrentControlSetControlRemote Assistance" is added with the regexp "add" /v f.AllowFullControl /d 1 /f /t REG_DWORD
These commands should activate Windows Remote Assistance on your computer.
Confirming that your Windows Firewall permits Remote Assistance for Windows to work without a hitch is essential. Check the list of allowed apps in your firewall settings to see if "Remote Assistance" exists. If not, add it manually to avoid any connectivity problems.
It is simple to set up a remote connection using Windows Remote Assistance. You can invite someone you trust to help you or accept an invitation from someone else once you've enabled the feature. Here is how to do it.
Your keyboard's "Win + R" key will launch the Run dialog. Enter "msra" and click "OK." The Windows Remote Assistance will open after you issue this command.

Select the "Invite someone you trust to help you" option in the Remote Assistance window. This will take you to a new window with numerous invitation-sending options. Click "Save this invitation as a file" to make things simple. Save the created file somewhere convenient for you, preferably on your desktop.

After saving the invitation, a new window displaying a password will appear. The person whose help you need will need to receive both the saved invitation file and this password. Both will be necessary for their connection to your computer.

To open the Remote Assistance window, press "Win + R," type "msra," and press "OK."

Select "Help someone who has invited you" from the first screen. Double-click the invitation file you received on the following screen. A password entry prompt will then appear. Enter the password that the host gave you.
A request will appear on the host computer after the password is entered and the "OK" button is clicked. To establish the connection, the host must select "Yes." After that, the helper and the person needing help will see the same screen.

Clicking "Request control" will allow the helper to take control of the host's computer.

The computer of the host will then display a window. To give the helper control, the host must click "Yes".

Although Windows Remote Assistance is a feature that comes standard with Windows 10 and provides a dependable way to offer or receive technical support, other tools can make the process even more straightforward. One such tool is Avica Remote Desktop, a remote desktop program that stands out for its usability, straightforwardness, and sophisticated features.
Avica offers a seamless remote access experience, Avica was created. It's a top option for those looking for an effective remote desktop solution because of features like 444 color mode, low latency, 4K quality resolution, and minimal memory occupation on both the master control terminal and the controlled terminal.
You can easily download Avica software by clicking the button provided below. For more detailed information regarding Avica App downloads, please visit the official Avica download page. It is important to note that Avica ensures the safety and virus-free nature of all products available on its official website or app store. Feel confident in downloading Avica from these trusted sources.
Install Avica on the host and client computers. The installation procedure is simple and doesn't call for a high level of technical expertise.
Create an Avica account by signing up after installation. The PC will be automatically assigned to your account once you log in, making subsequent connections even more accessible.

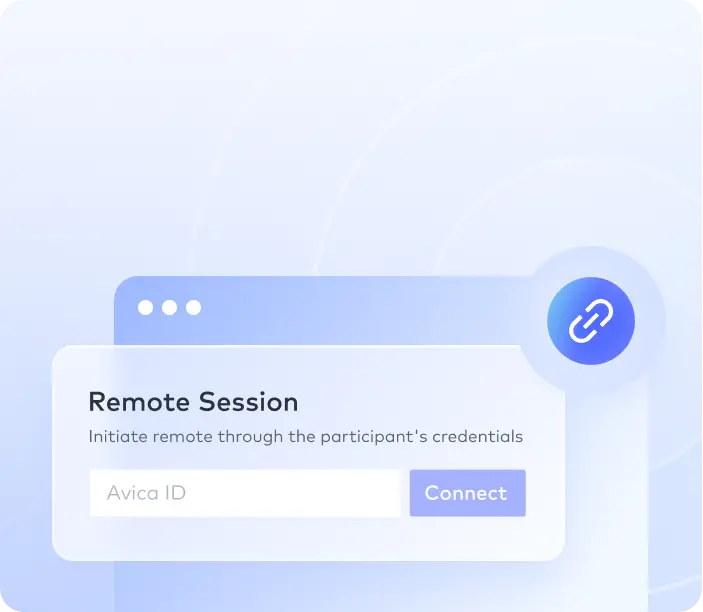
Navigate to the Avica interface's "Connect" tab. You can see an Avica ID over here. Ask the person seeking help to share their Avica ID and password with you if you want to help them.

Click "Connect" after entering the shared Avica ID and input the password to start the remote connection.

Avica provides a one-click control feature for those who value speedier access. Users can quickly establish a remote connection by logging into their Avica account on the host PC and choosing the desired PC from the "Recent Sessions" tab on the client PC.
With so many options available, navigating the world of remote assistance can initially seem overwhelming. However, the process becomes more manageable with tools like Windows Remote Assistance and sophisticated software like Avica. Understanding how to enable, set up, and optimize your remote support experience is essential whether you're an IT professional providing assistance or a user on the receiving end. As technology advances, having the skills and resources necessary to use remote assistance effectively will be increasingly crucial.

Connect Everything, Work Anywhere


